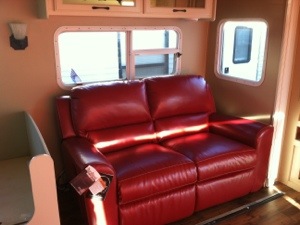
Needless to say, 2015 was a year focused on restoration – health restoration, that is. And I’m hopeful 2016 will, among other things, focus on Lucille’s restoration! Oh my sweet Lucille! She’s only about 30 minutes away, but I’ve hardly spent any time in her. I am so thankful for friends though – friends willing to keep her safe until we get her moved to the country.
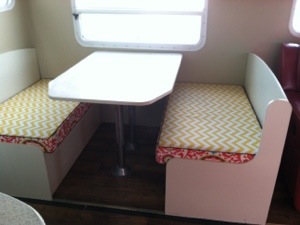
Yes, I’ve had my hands full for the past year and yes, it’s easy to understand why nothing has been done, but I’m feeling stronger every day and hopeful to make progress on her this next year! The things that need to be done aren’t massive…and actually there are a couple of projects for me to finish at home – like the cushions! They should only take me a few days… oh goodness! I should really get on that, shouldn’t I???
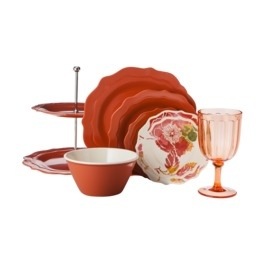
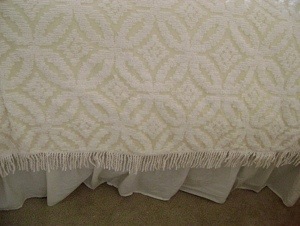
I picked up a couple of goodies for her last year… super cute, don’t you think?


 My dear friends have been putting in long weekend hours working on property improvements. A big challenge for the area are washouts – often requiring
4-wheel drive to access the property. As you can see, they’ve really been making progress grading the driveway, adding geotech liner (WOWEEE!!!!), and now searching for a great deal on limestone.
A big question – well, up until a few weeks ago… was whether or not I’d be able to make the 1 1/2 – 2 hr drive. I’m pleased as punch to report I’m able to drive up to FOUR hours now! Granted, I’m pretty tired afterwards, but sitting for an extended period in the car doesn’t seem to be an issue – God is good!!!!

TEMPUR Ergo Plus
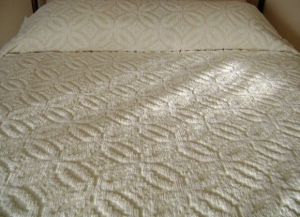
Of course I will still need to be prepared – and one essential piece of furniture/equipment is an adjustable bed frame. I still cannot lay flat without significant pain. Sleep as I knew it was revolutionized when my sweet brother purchased a Tempur-Pedic TEMPUR Ergo Plus base for my bedroom – it was such an amazing gift and has provided such perfect positioning to ensure the best night’s rest every.single.night. Now, if you’ve been brave enough to price these puppies, you know they aren’t cheap! Granted, they are worth every penny in my book, but my pennies are quite limited these days! Originally, my family recommended craigslist or discount retailers selling discontinued or floor models. Unfortunately, at the time I needed something immediately and my generous brother stepped up big time! So…when I started thinking of allocating remodel funds towards another adjustable base, you better believe I let my fingers do the walking and found a great deal! The best part is that it’s the EXACT same model as the one I have at home -AND I got it for a fraction of the cost – woo hoo!

 Now…if you know anything about RVs, you may be thinking, “uh…how exactly will that fit?” Since the air mattress (yes, I’ll need a new mattress too) sits on top of a 2ft plywood storage platform, the bed frame is sitting in my garage for now. My handy dandy soon to be son-in-law (yay! I’m gonna have a son!) is helping on that front – he removed the hinged top and cut out the surround a couple of weeks ago – we soon discovered the six extra flooring planks weren’t nearly enough to run the flooring in the newly opened space!
Thankfully, I saved one of my boxes and Home Depot still carries the TrafficMaster Allure vinyl plank flooring! I still haven’t quite decided how I want to enclose the area – do I want inside or outside storage? The space is so small, I’m leaning towards sealing off the outside access…stay tuned on that one!
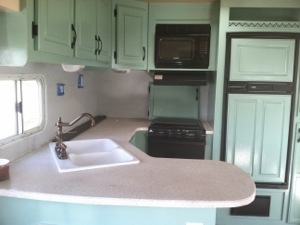
Now…last, but by no means least…. if you’ve followed my blog, you know countertops have been a troubled topic since I first bought Lucille. My dream countertops turned into a bit of a nightmare when my contractor botched the job and took off – lesson learned NEVER pay in full until a job is COMPLETE!
I have searched and searched and searched some more in hopes of finding the perfect countertop finish. Ideally, I wanted to replace the formica…but then opted to put that money towards the adjustable bed. Then I tried a countertop refinishing product on the dinette. It was fine, and I’d still recommend using it, but it just wasn’t what I wanted for Lucille. Then I considered the paper bag technique – super cute, but again not quite the right vibe for Lucille. I even considered penny countertops – super duper cute, but still…not quite right….sounds like my countertop decision is a modern day Goldilocks tale!

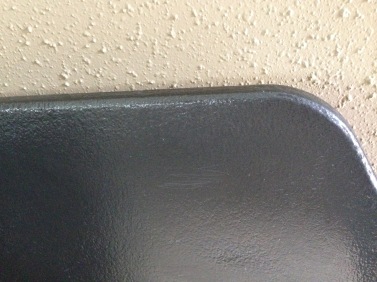
Hammered trial board next to sink
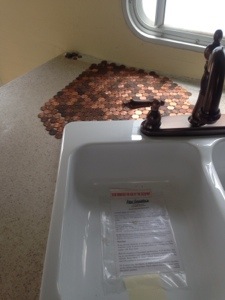
SINK AREA w/BOTCHED COUNTERS & penny test
A week or so ago I was cleaning out under my kitchen sink at home and stumbled across a can of Rustoleum Hammered finish spray paint….and I thought to myself, “I LOVE this stuff!!!! What about using this for Lucille’s counters?????” Immediately, I grabbed my trial piece of plywood (still thinking how much I loved the brown paper bag technique) and sprayed away….oh….so stinkin’ cute!!!!! It’s super shiny and ties in well with the other black accents (hardware, stove, & refrigerator trim)
Originally, my boss designer daughter boycotted my idea, but I think she’s coming around. One thing is for certain…it’s cute, it’s cost effective, and ANYTHING will look better than what’s there now!
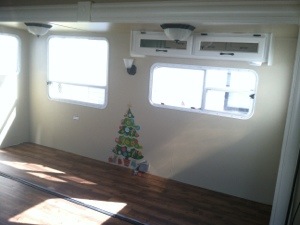
dinette sprayed w/black hammered finish
 I went ahead and used spray paint to test the dinette top – I was so eager to see the result, I didn’t prep the surface AT ALL – yeah…I know, but what can I say? I was excited!!!! Here’s a snapshot of the dinette test – I’ll give it a light sanding and use the roll-on vs the spray (one can doesn’t go too far). One quart covers about 100SF and runs about $15/qt.
I still have the countertop refinishing paint I originally used on the dinette top and will use it on the kitchen counters to ensure the Rustoleum really adheres. I’m not sure if I will need a polyurethane top coat – I’ll let it cure and then see how it holds up!
Stay tuned! I hope to report back soon with all sorts of completed projects!